GDPR Email Marketing: Your Ultimate Guide to Compliance in 2026

What is GDPR and why should you care? The General Data Protection Regulation (GDPR) is a comprehensive European Union data…


This is a guide for adding a cookie banner to your WordPress website to comply with the privacy laws like the GDPR and ePrivacy Directive in Europe, and the CCPA in the USA.
To add a cookie banner to your WordPress website, simply follow these steps:
GetTerms is a Google CMP Partner
Try our Cookie Consent ManagerIf you haven’t chosen a cookie banner tool, there’s plenty of great options out there but we’d love it if you checked out ours! GetTerms is a Google CMP partner with unlimited banner views, per-region banner settings, and a lifetime deal. You can even try our Cookie Banner Generator risk free thanks to our 30-day money-back guarantee. Customize your banner’s design, install it on your website and leave the consent management process to us.
Follow our cookie banner setup guide from start to finish. We’ll show you how to generate your banner, customize its design, configure consent behavior by region, and edit the banner text.
We always recommend that you use our plugin to install our banner. It’s the easiest way to make sure our banner runs as early as possible.
To install the GetTerms WordPress plugin, follow the steps below.

WP Consent API is a plugin that shares your visitors’ consent choices with other WordPress plugins and themes.
Many plugins set cookies in their own way, which can make them hard to control with script blocking alone. Without this extra signal, some plugins may run and set cookies before consent is given.


To enable your consent banner, toggle either:

Manually add: “Embed Widget Manually (Supports multilingual options)”. Click the embed toggle for the language you wish to enable. Only enable one language at a time.

The main functionality of a Cookie Banner is to block scripts when consent for tracking cookies has been denied by the user. You can test whether you Cookie Banner is really blocking cookies using your browsers developer tools.
What is GDPR and why should you care? The General Data Protection Regulation (GDPR) is a comprehensive European Union data…

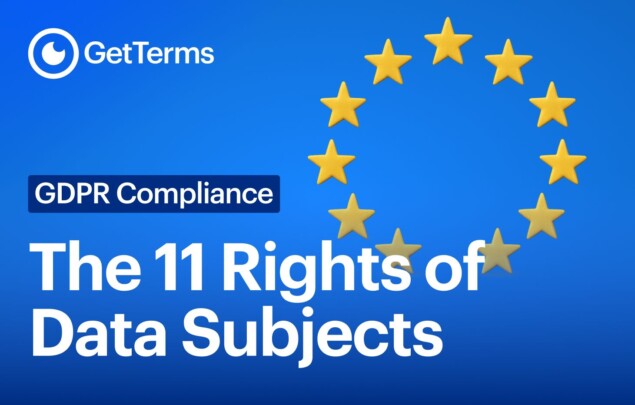
We cover the 11 data privacy rights introduced with the GDPR