How to Add a Cookie Banner to a WordPress Website
Read our guide on how to add a cookie banner to a WordPress website

Create a GDPR-ready Privacy Policy, Terms & Cookie Banner in under 5 minutes.

Adding legal policies to your website is a fundamentally significant step in being compliant with global privacy laws and protecting both your business and users. GetTerms is a service designed to simplify this process by generating essential legal documents like Privacy Policies, Terms of Service, and more.
In this guide, we will simplify and walk you through the steps to add GetTerms’ policies to your website, ensuring you can quickly implement the policies.
Generate your own Privacy Policy in under 5 minutes
Privacy Policy GeneratorGetTerms was created to simplify the creation of essential legal documents for websites, mobile apps, and online businesses. We offer a user-friendly platform for generating Privacy Policies, Terms of Service, and other legal agreements needed to ensure compliance with global privacy laws.
To create a policy with GetTerms, you’ll need to an account. This is where you’ll access and edit all of your policies.
Once you’ve made an account, there’s only 7 simple steps to follow!
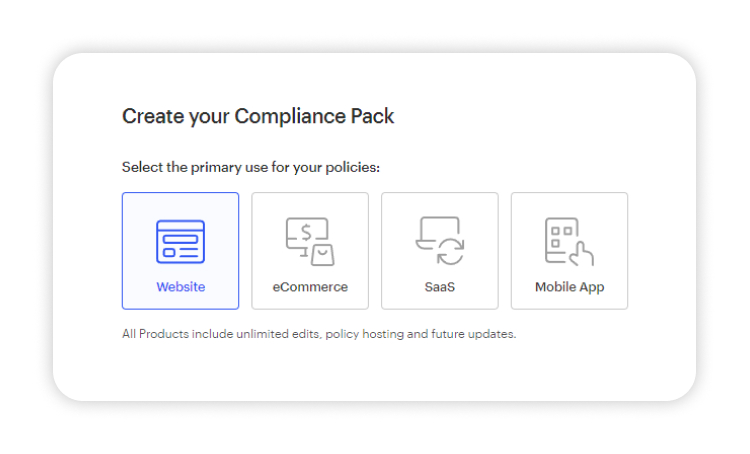
Start by select the primary use for your policy. Even if you don’t have a website, if you’re using this exclusively for your Facebook page, select ‘website’.

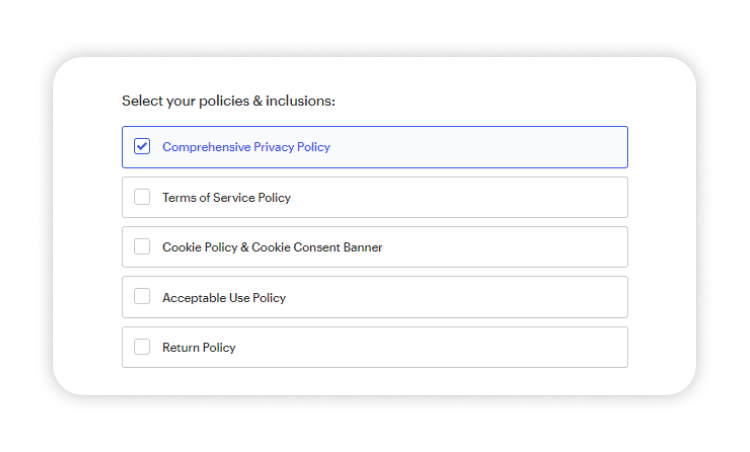
If you’re using a free account, you’ll only have access to a privacy policy. But, if you’re using one of our compliance packs, you can generate several other legal documents to use with your Facebook page, such as your terms and conditions and return policy.
For now, select privacy policy and move on to the next step. You can return later if you want to generate another document.

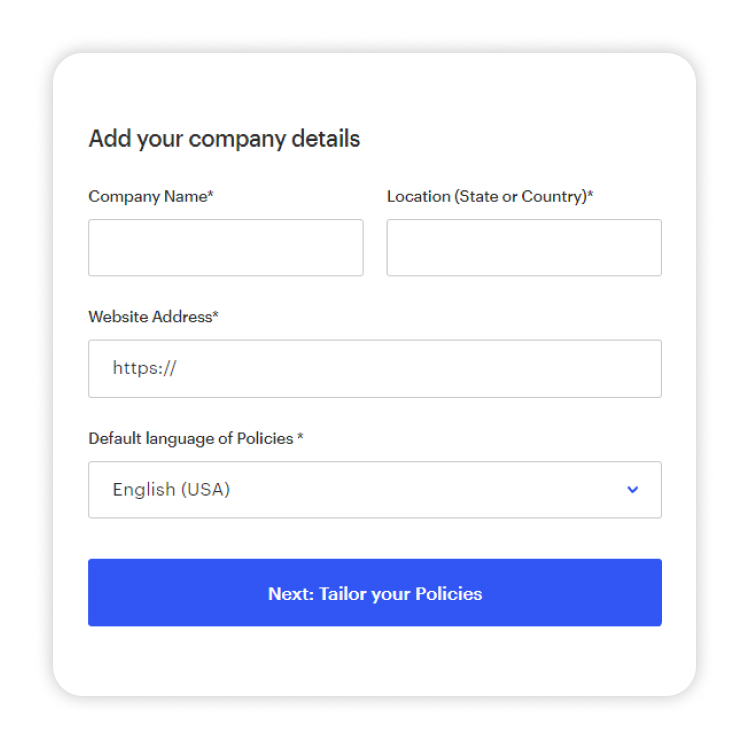
We’ll need to know your company name, location and website address in order to white label your policy. If you don’t have a website, add a link to your Facebook page in the box labelled ‘Website Address*’.

Select the statements that apply to your Facebook page.

Provide a primary contact for compliance with GDPR, CalOPPA, PIPEDA & CCPA

Select the laws you need to comply with. Remember, you’ll need to abide by the laws of the countries your users live in, not jsut the one your business operates in.

Next, click ‘complete your order’ and your policy will be generated instantly.

GetTerms provides three primary methods to add policies to your website. Each method has its advantages, depending on your technical expertise and how often you expect to update the policies.
This method is ideal for those who want their policies to be automatically updated without manual intervention. The embed code is a snippet of HTML that you can insert directly into your website’s code. Follow the steps below:
Advantages
For WordPress users, GetTerms offers a plugin that simplifies the process of adding policies to your site.
Advantages
This method is useful if you prefer not to embed or manually add the policies to your website. By linking directly to the hosted version on GetTerms, you ensure that users always see the latest version. Follow the steps below:
Advantages
For those who prefer more control over their website content, copying and pasting the policies directly into your website is a straightforward option. Follow the steps below.
Advantages
Once you’ve added your policies, it’s crucial to verify that they are correctly implemented and accessible to your website visitors.
It’s important to maintain the accuracy of your legal documents over time. Here’s how to manage updates with GetTerms:
Reach out to our support team. Don’t worry, we’ll get back to you quickly, that’s a promise!
Generate your own Privacy Policy in under 5 minutes
Privacy Policy Generator